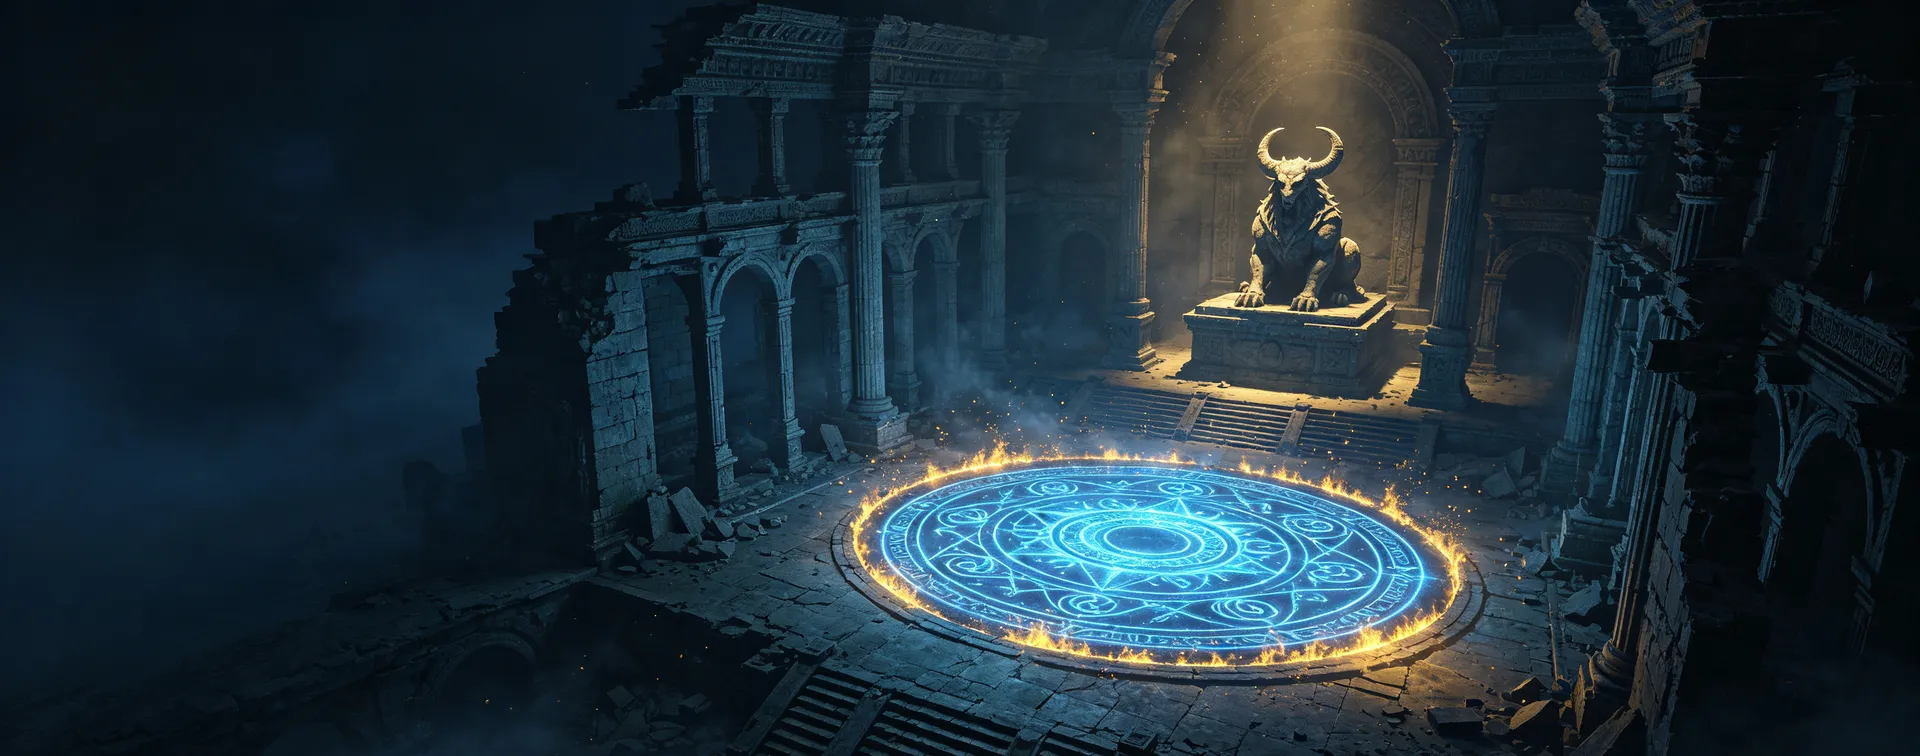
Black Temple Puzzle Solutions in Resonance: A Plague Tale Legacy
Step-by-step solutions for all Chapter 7 temple puzzles: the Find a Way to Open the Gates light puzzle, the Four Skulls door press order, and the final mirror room.
The temple stretch of Chapter 7, Death It Sowed — the part most players call the Black Temple — chains three light-based puzzles back to back, and it is where Resonance: A Plague Tale Legacy’s playtime dips for a lot of people: two of the three have combat waves woven into them, and the final one hides its last step behind a mirror you may not notice can move. This guide walks through all three in story order, with the exact inputs.
All of these sit inside the sub-chapter “A stage of skulls” and its run-up; collectibles from the same stretch are covered in the Chapter 7 collectibles guide.
Puzzle 1: Find a Way to Open the Gates
The first blocker is a sealed gate with a beam of sunlight falling near it and several reflectors scattered around the room. The goal is to land sunlight on the metal plate in front of the gate so Sophia can use the Sphere.
- Take the first lever at the back of the room and rotate the mechanism until the beam swings to the left side of the room and strikes the reflector nearer the gate.
- Use the lever in the middle of the room to reposition the reflectors so the sunlight lands on the metal plate on the ground before the gate.
- Step onto the illuminated plate — Sophia needs to stand in light for the Sphere’s splitting ability — and activate the Sphere. The beam splits into red, green, and blue.
- Rotate the Sphere until each colored beam hits its matching gemstone. There are only three targets here, which makes this gate an easier variant of the puzzles to come.
Once all three beams lock in, the gate opens and the temple proper begins.
Puzzle 2: The Four Skulls door
Deeper in, a door is flanked by four skull mechanisms. The solution is pleasingly simple:
- Shine the Sphere’s light at the door — green dots appear over the skulls in the correct press order.
- Following the dots, press: rightmost skull → second from right → leftmost → second from left. Counting from the left, that is the 4-3-1-2 order.
The door grinds open. If you are hunting collectibles, one of the chapter’s charms waits just past this door.
Puzzle 3: The light-and-mirrors room
The final temple puzzle is a multi-stage fight-and-light sequence:
- Clear the first enemy group, then stand in the light and shine the Sphere at the wall. Press the skull marked with the blue icon — the light source moves.
- A second wave attacks. After it, stand in the light on the left side, use the Sphere on the wall again, and press the newly highlighted skull.
- Interact with the pedestal in front of the door — it rotates. Interact once more, then move the mirror to the middle position with the left stick.
- Stand on the floor plate and align the three beams: green to the middle mirror, red to the left mirror, blue to the right mirror.
With all three aligned, platforms of light appear leading onward — and the temple’s remaining stretch, including its collectibles and the exit into the ruins, opens up.
FAQ
What is the press order for the four skulls in Chapter 7?
Rightmost first, then second-from-right, then leftmost, then second-from-left (4-3-1-2 counting from the left). The game shows this itself: shine the Sphere at the door and green dots mark the skulls in order.
Why won’t the final light puzzle solve?
Almost always step 3: the pedestal must be interacted with twice — once to rotate it, and again before moving the mirror to the middle with the left stick. If the beams cannot reach their mirrors, check that the mirror is in the middle slot, not the side.
Are the Black Temple puzzles missable or timed?
No. None of the three is timed, and all can be replayed via Chapter Select. The only pressure in the sequence is the combat waves between steps.